A boat cover looks tough. Until you notice it wets out faster, stays grey after cleaning, or just doesn’t look fresh anymore. Often that’s not bad luck. It’s a few very common mindset mistakes. And that’s normal: you mainly see the result, not what’s happening inside the fabric.
Below are 11 mistakes people make most often with boat cover maintenance. For each one you’ll see what goes wrong, and what to do instead. No complicated talk. Just practical, doable advice for home use.
1) Mistake: “A quick rinse is clean enough.”
What goes wrong: Rinsing removes loose dirt, but it often leaves a thin film behind. That film attracts moisture and new dirt, and the fabric looks dull faster.
The fix: Think of rinsing as “prep work”. After that, clean properly with a cleaner made for outdoor fabric. The result is more even and lasts longer.
2) Mistake: “The harder I scrub, the faster I’m done.”
What goes wrong: Aggressive scrubbing can roughen the surface. Then dirt grips more easily and the cover looks tired sooner.
The fix: Use gentle pressure and repeat a step if needed. Calm, steady work usually beats force.
3) Mistake: “A household cleaner will do the same job.”
What goes wrong: Many household cleaners are made for kitchens, bathrooms, or floors. Outdoor fabrics have different needs. The risk is a dull look or reduced water repellency.
The fix: Use a cleaner designed for boat covers and outdoor fabric. It’s safer and the outcome is more predictable.
4) Mistake: “Stains gone = job done.”
What goes wrong: Removing stains is not the same as cleaning the whole cover. It can look better but still carry a film of dirt.
The fix: Think in steps: clean the full surface first, then treat specific stains only where needed.
5) Mistake: “I’ll do everything in one go with one product.”
What goes wrong: Cleaning, stain removal, and protection are three different goals. One product can’t do all three well at the same time.
The fix: Follow a simple order: 1) Cleaning, 2) Stain removal, 3) Protection. This prevents disappointment and often saves time because you don’t need to redo work.
6) Mistake: “Protection also cleans.”
What goes wrong: A protector restores water repellency and helps dirt stick less. But it doesn’t remove dirt. Protecting over grime can lock it in.
The fix: Protect only when the cover is truly clean. Then protection works better and the result stays nicer for longer.
7) Mistake: “I’ll protect it even if it’s still a little damp.”
What goes wrong: Moisture in the fabric makes it harder to apply protection evenly. That can lead to patchy results and uneven water repellency.
The fix: Let the cover dry fully before you protect it. It may be the “boring” step, but it’s often the one that decides the final result.
8) Mistake: “More is better, so I’ll apply a thick coat.”
What goes wrong: A thicker layer doesn’t automatically mean better protection. It can go uneven and create areas where dirt catches faster.
The fix: Apply evenly in overlapping passes. Aim for full coverage, not thickness.
9) Mistake: “All fabrics are basically the same.”
What goes wrong: A synthetic boat cover behaves differently from cotton or canvas. Protection is not always interchangeable.
The fix: Identify the material first:
- Synthetic fabrics (most boat covers): choose a protector made for synthetic outdoor fabric.
- Natural fabrics (canvas/cotton): choose a protector made for natural outdoor fabric.
If you’re unsure, taking a minute to confirm the material is often the quickest win.
10) Mistake: “If water beads, everything is fine.”
What goes wrong: Beading tells you something, but not everything. A cover may bead in one area and still darken quickly or hold moisture in another.
The fix: Check multiple spots, especially seams, folds, and areas that take the most wind and rain. Protection is mainly about evenness.
11) Mistake: “I’ll be economical with product.”
What goes wrong: Using too little often creates “gaps” in the result. Then you keep touching up, which costs more time and often ends up using more product anyway.
The fix: Don’t be too stingy. A boat cover needs enough product for even coverage. And practically: running out halfway through is frustrating and can affect the result. A slightly larger pack is often more convenient, and it’s useful for touch-ups and future maintenance.
So what’s a sensible approach?
If you keep it simple, it always comes back to the same three steps:
- Cleaning: removes general contamination and prepares the fabric for the next step.
- Stain removal: only where needed, focused on deeply embedded stains, stubborn contamination, and difficult-to-remove discoloration.
- Protection: restores water repellency and helps slow down new dirt build-up.
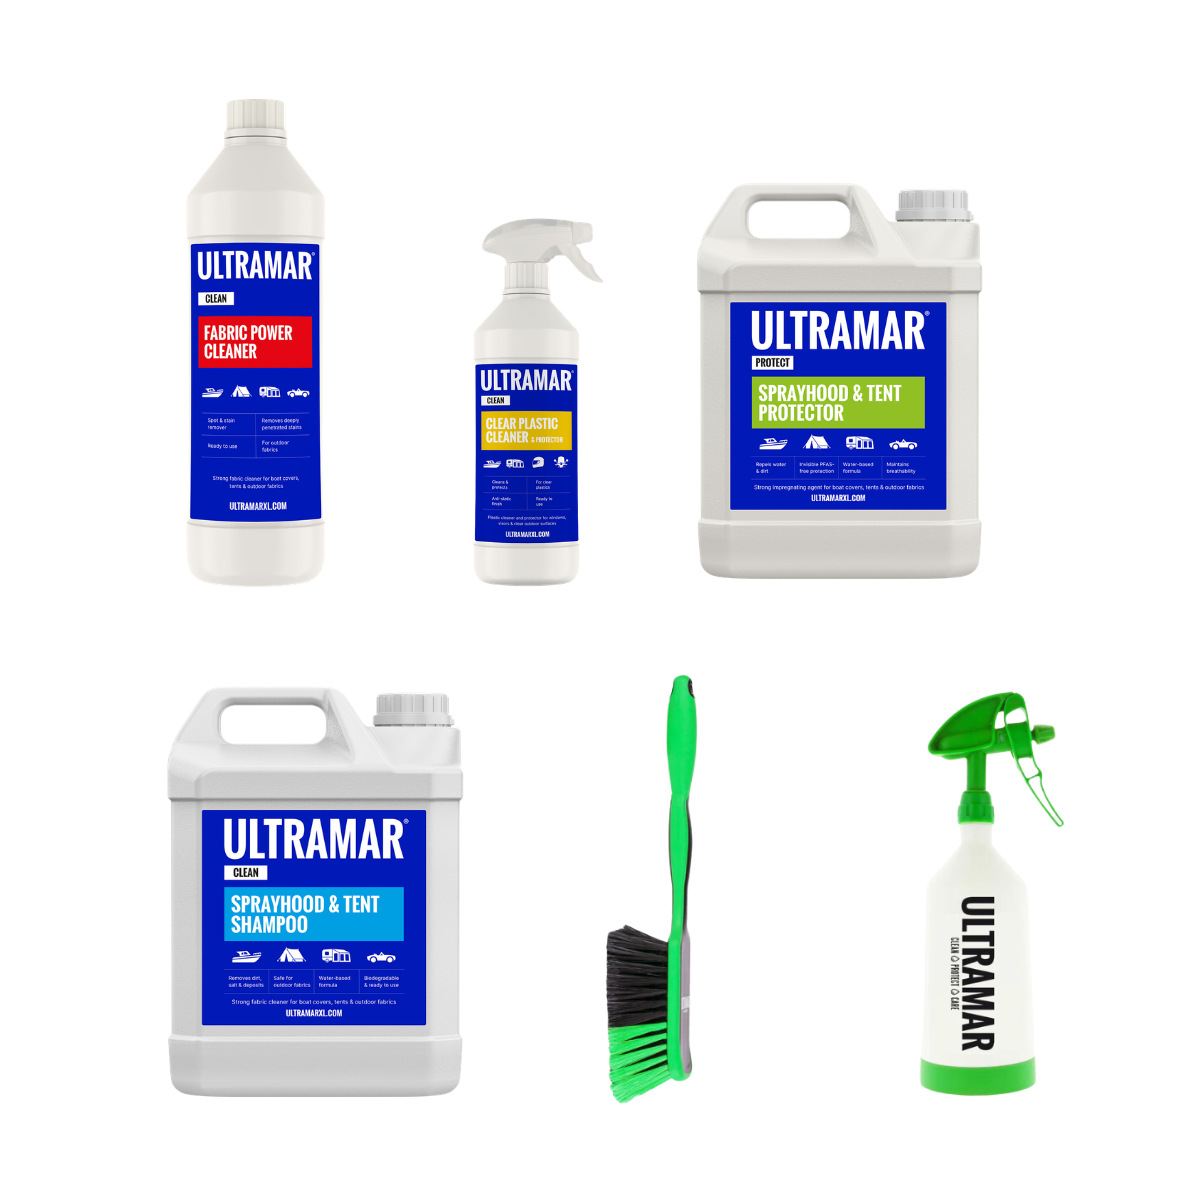
Ultramar follows that exact logic: a cleaner for step 1, a targeted stain remover for step 2, and a PFAS-free protector for step 3. The products are made for home use, and you don’t need specialist tools to use them.
What does this mean for you?
- If your cover never feels “truly clean”: focus on proper cleaning instead of scrubbing harder.
- If marks keep showing: treat those areas afterward as stains, only where needed.
- If water no longer beads: protect only when the cover is clean and fully dry, and apply evenly.
- If you want the best overall result: choose a maintenance bundle with the correct steps. Bundles are often better value than buying items separately, and you’re less likely to skip a step.
For current prices and availability, you can check the Ultramar website, bol.com, or an official Ultramar dealer.